This tutorial was written for those that have a working knowledge of PSP.
Supplies Needed:
I am using PSP 7 and 9 but any version will do.
Animation Shop.
Eye Candy 4000 Gradient Glow.
Fonts of choice, I used Aachen Vertical size 36, for name Bones 48 bold.
Times New Roman bold size 12 for small text, pixelette 6 for copywrite.
Tube of choice. I am using the artwork of Elias Chatzoudis.
You have to purchase a license to use his wonderfull work Here
Template16(sapphy)- by Kandi, You can get it Here
Thank You for uploading it especially for me hon.
Mask 194 - in supplies, and my drop shadow is 1,1,50,5, apply as you go along.
My supplies Here
If any of my supplies are yours, please let me know so i can give proper credit.
[Let's Get Started]
Open my supplies and minimize.
Open up the template, shift D to duplicate, close original.
Delete the copywrite.
Close all layers apart from background, we floodfill this white.
Make a new raster layer floodfil with colour from your tube I used #D12929.
Go masks - new - from image, Locate Mask194 from drop down menu and select it.
The only thing ticked is source luminance, then click ok,
Merge visible, rename it background and close it.
Open thin black rectangle, apply drop shadow, apply gradient glow 3,25,100,
colour fat, then apply drop shadow again.
New raster layer, background colour white foreground null.
Times New Roman size 12 bold and type out what you would like there.
I did, Love at first bite, add drop shadow, place on thin black rectangle.
Merge visible rename thin rectangle and close layer.
Open leaf doodle, apply drop shadow, duplicate, image mirror and image flip.
merge visible rename doodle, drag above your backgound layer, and close.
Open top circle,selection select all, float, defloat, open your tube
copy paste as new layer,position over your top circle till your happy with it.
Selection invert delete, select none, duplicate tube layer,
the original we do luminance, the copy we do soft light.
Open top circle frame apply drop shadow, merge visible and close.
Repeat for your bottom circle.
Open white side rectangles, selection select all, float, defloat,
floodfil with colour from your tube I used #D12929, select none.
Apply drop shadow, apply above gradient glow, apply drop shadow again.
New raster layer, font Aachen Vertical size 36,type your phrase, I did Bite Me.
Image rotate right 90, select none, add gradient glow and drop shadow.
Duplicate and drag over to the other side.
Open orange rectangle,selection select all, float, defloat,
floodfill with colour of choice,or #D12929, select none.
Open text and frame, add drop shadow to frame only.
Add drop shadow to Bat, Spider and Bloodlust.
Move all your shapes around till your happy with the placement.
Use mine as a guide, merge visible all.
copy your tube to use as guideline so as to place your copywrite and name.
Once happy with placement of copywrite and your name,
delete the tube and merge visible all.
copy and paste in animation shop.
Duplicate twice for 3 frames, we will add animated tube to it later
Time for the animation part, add a drop shadow to your tube.
Shift D twice, so we have 3 copies,I will refer to them as tube 1-2-3.
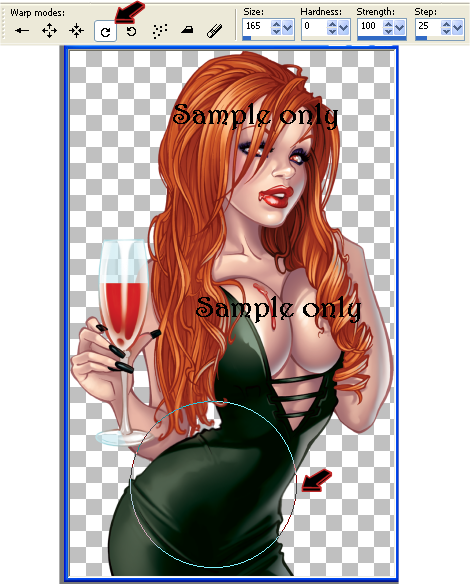
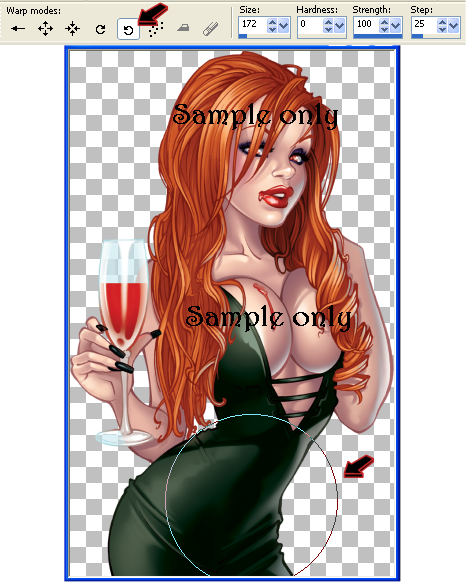
Select your warp brush wth the following settings, for tube 1, click tube once.
We do the same for tube 3 changing the warp direction and where we click tube.
Tube 2 we want to move her boobs or make them breathe.
with your freehand tool hold down the shift key,
and select part of the boobs you want to breathe,
go effects, punch size 12 and hit ok.
Copy tube 1 to animation shop paste as new layer,
tube 2 copy and paste after current frame, do same for tube 3.
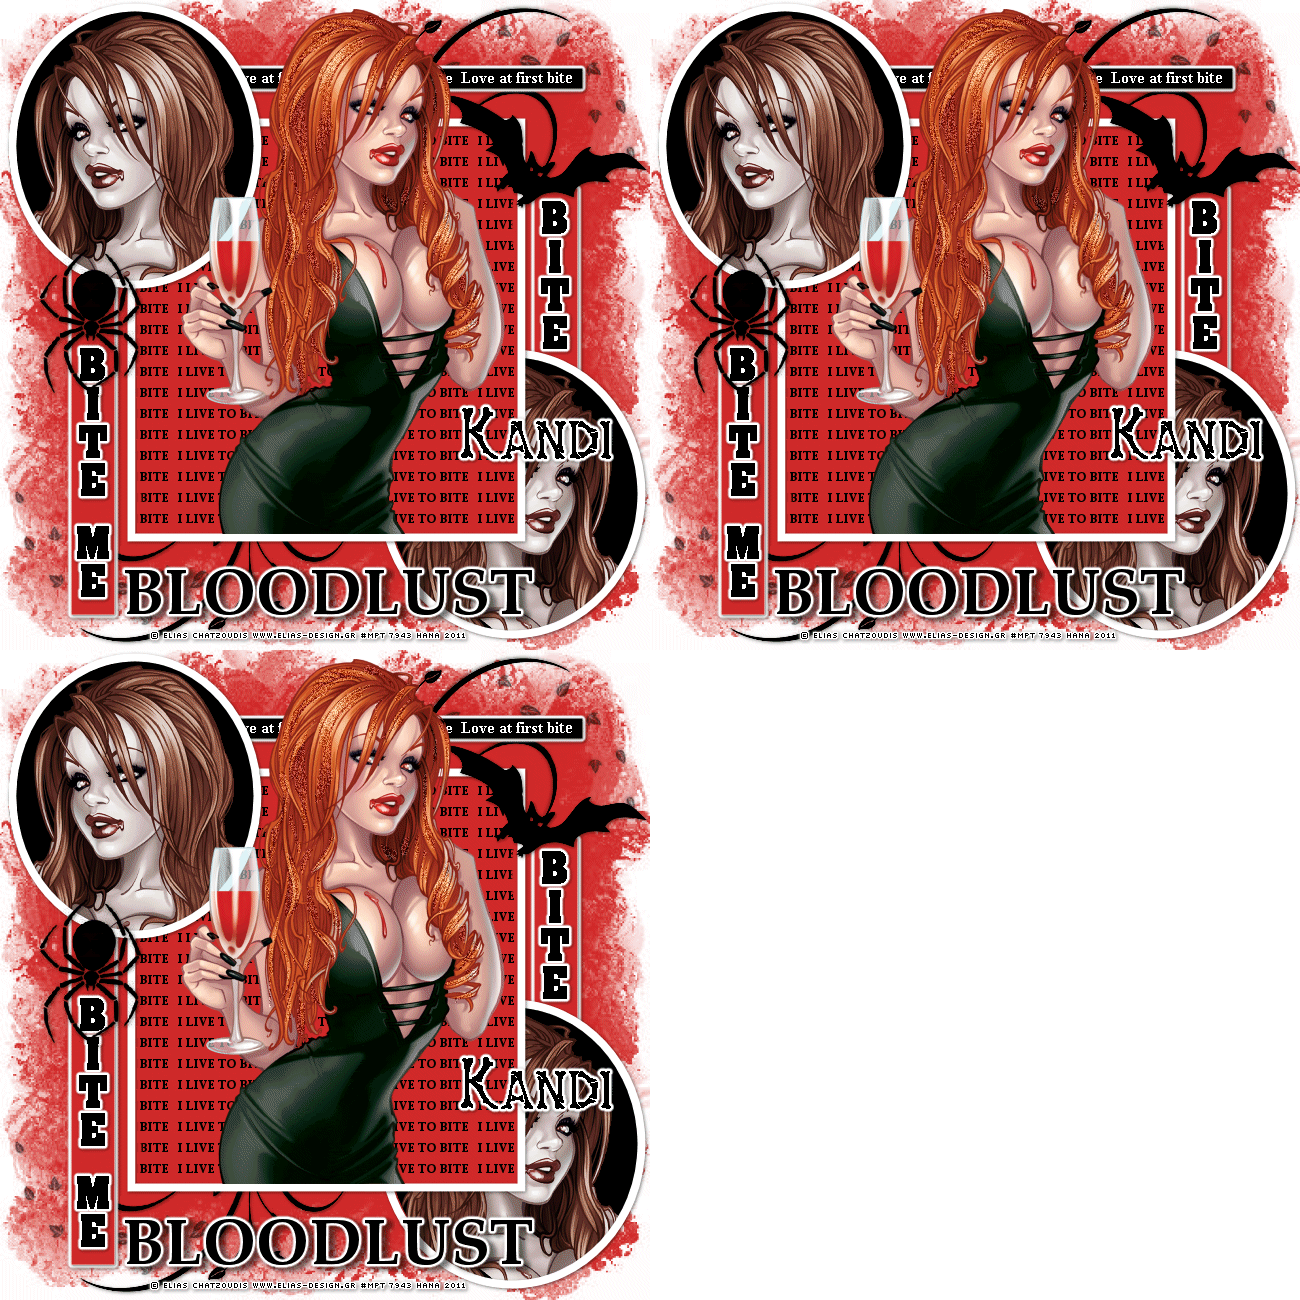
view your animation, you can see her shake and bump, we adjust speed later.
I also added some dsb flux 45 to her hair.
Go edit select all and export frames to psp.
Using your freehand tool, hold down shift and on tube 1,
select parts of her hair you want to glitter.
Go effects, plugin filters dsb flux, bright noise.
Intensity 45, mix selected and click mix once,ok.
Select tube 2 effects, bright noise and click mix twice ok.
Select tube 3 effects, bright noise and click mix 3 times ok.
Go file exit and return to animation, your animation now has glitter as well.
Time to put all together in animation shop.
We should have 3 animated tube frames, and 3 frames from our tag.
Open our 3 tubes go edit select all and copy, then open the 3 frames,
edit select all and paste into selected frame, line it up carefully,
once happy with your placement click, all 3 tubes will paste into your frames.
Now we need to slow it down, go edite select all,
then go animation frame properties, change the displat time time to 25 ok.
View animation, if your happy with it save as gif.
Hope you Enjoyed this long winded tut, Hana.
This tutorial was written by Hana on April 28th 2011.
Any resemblance to any other tutorial is purely coincedental.